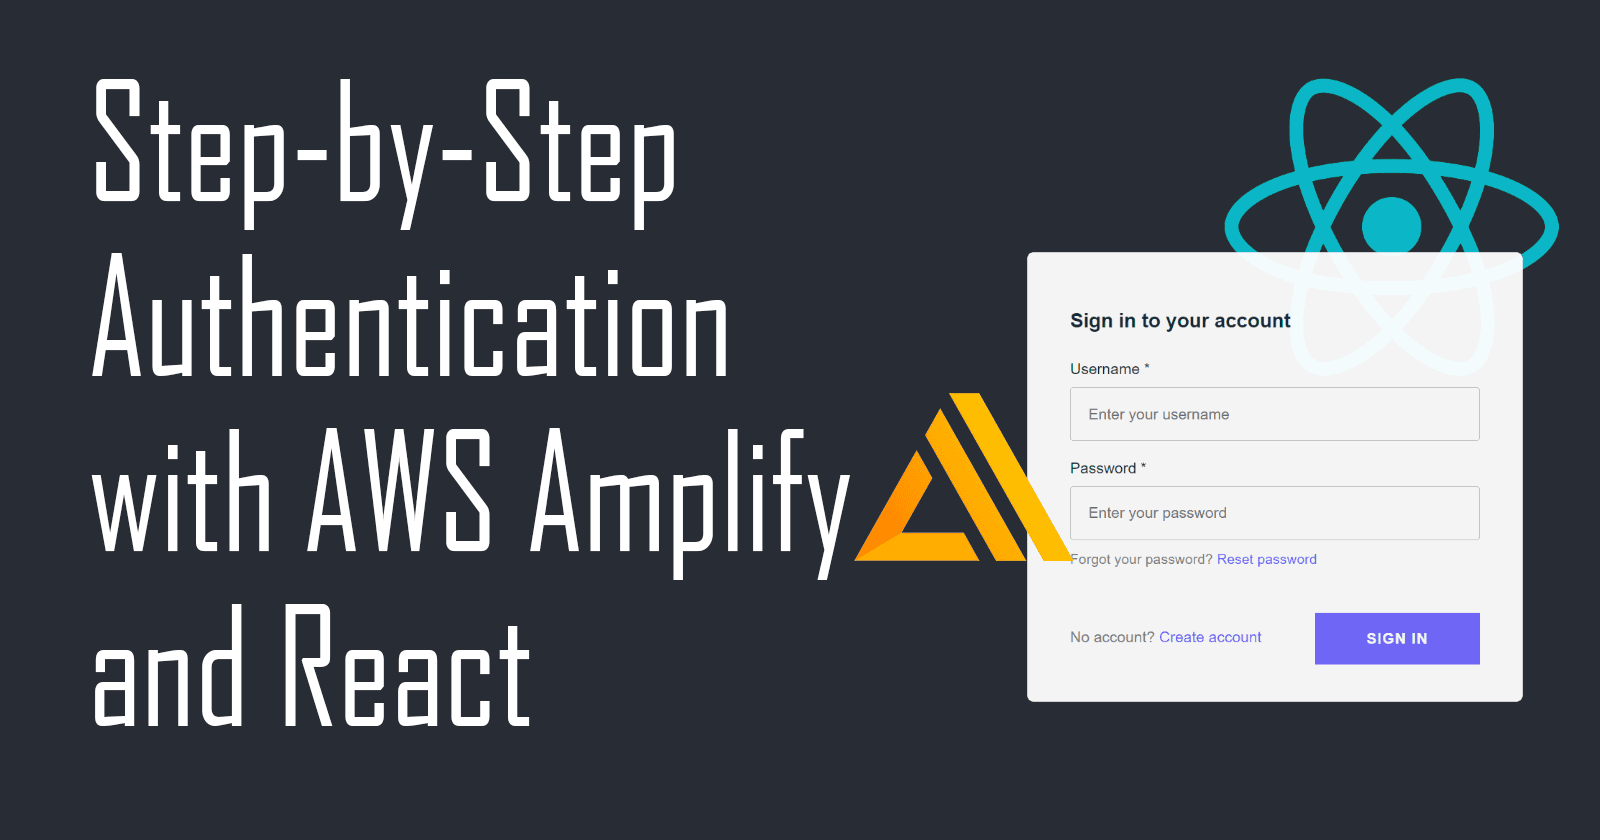
Build an Authentication System with AWS Amplify, Cognito and React
I'm a solutions engineer lead, GitHub Star, Director of WomenDevsSG, and co founder of ragTech. I work at the intersection of tech, systems, and leadership, and this blog is where I share my journey through all three. Expect honest reflections, real experiences, and thoughts that are still forming rather than polished career advice.
Building a simple authentication has never been easier with the help of AWS Amplify. In this step-by-step tutorial, let's authenticate users by integrating AWS Amplify (and Cognito) in a React app.
Prerequisites
Node.js and npm installed in machine
Basic JavaScript and React knowledge
Any code editor (i.e. Visual Studio Code)
AWS Console Account
If you don't have an AWS Account, you can sign up at: https://aws.amazon.com/console/.
Step 1: Install Amplify CLI
First thing you need to do is to install the Amplify CLI by running the code below:
npm install -g @aws-amplify/cli
Then, create a new React app with this command:
npx create-react-app <app-name>
Step 2: Configure Amplify
Now we run the code below to start configuring Amplify:
amplify configure
It will prompt you to sign in to your AWS Account. Once signed in, go back to the terminal and press Enter.
$ amplify configure
Initializing new Amplify CLI version...
Done initializing new version.
Scanning for plugins...
Plugin scan successful
Follow these steps to set up access to your AWS account:

Sign in to your AWS administrator account:
https://console.aws.amazon.com/
Press Enter to continue
Then you will be asked to select the region to deploy your app to. Select the most appropriate one according to your region.
Specify the AWS Region
? region:
  eu-central-1
  ap-northeast-1
  ap-northeast-2
> ap-southeast-1
  ap-southeast-2
  ap-south-1
  ca-central-1
(Move up and down to reveal more choices)
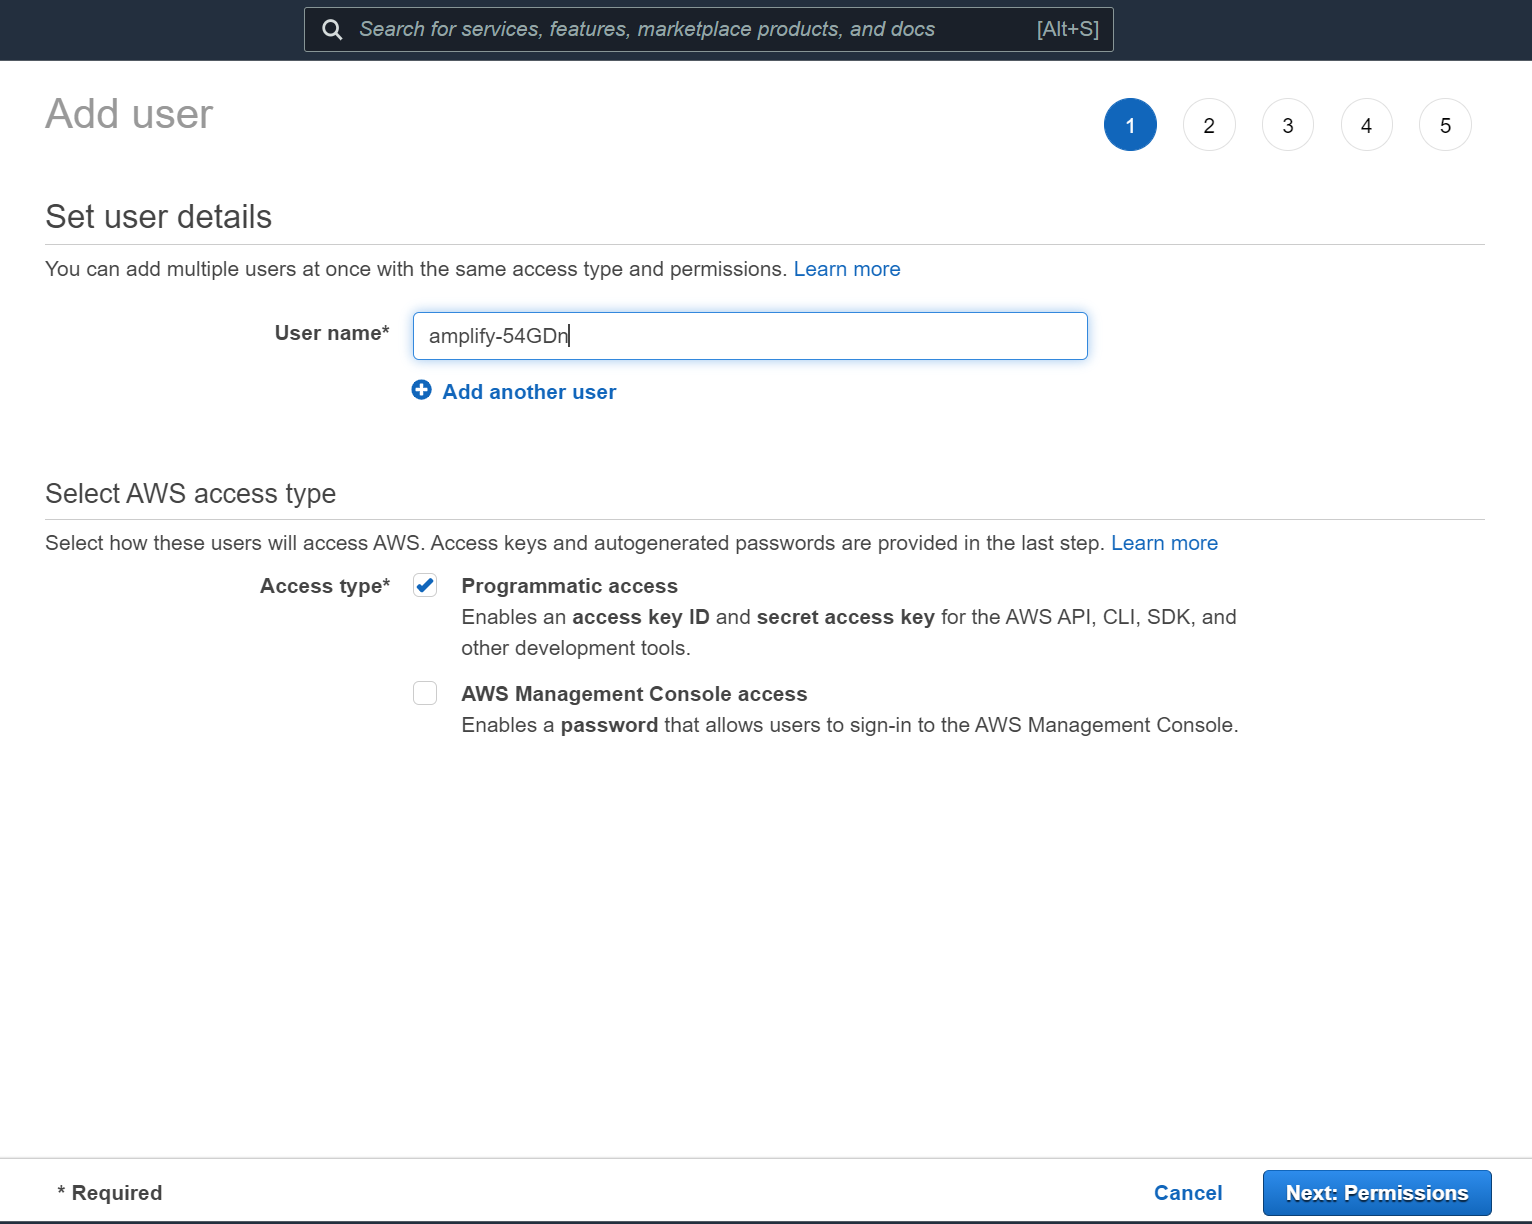
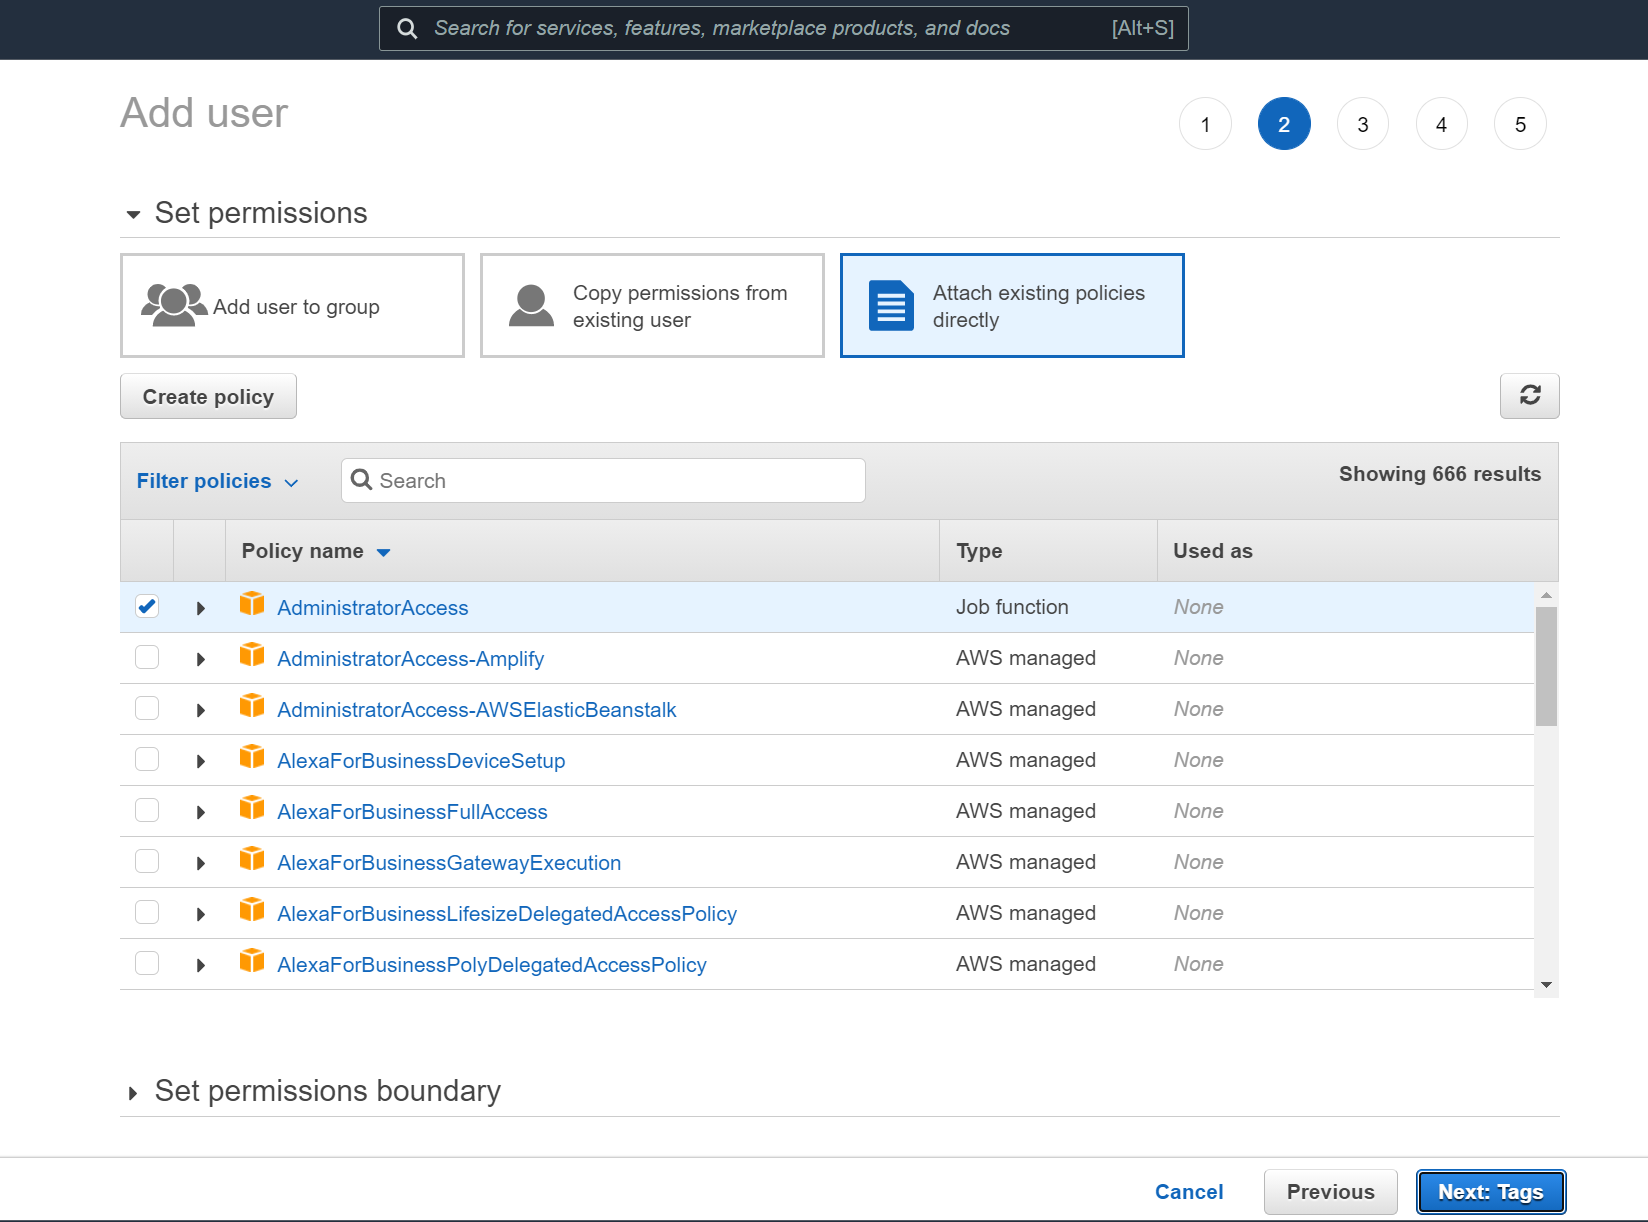
In the next screen, you will see that 'Administrator Access' is checked by default. If it is not, please check it, then keep clicking 'Next' until you reach the 'Create User' button.
Once your user is created, you will see the screen below. Copy the Access key ID and head back to the terminal.
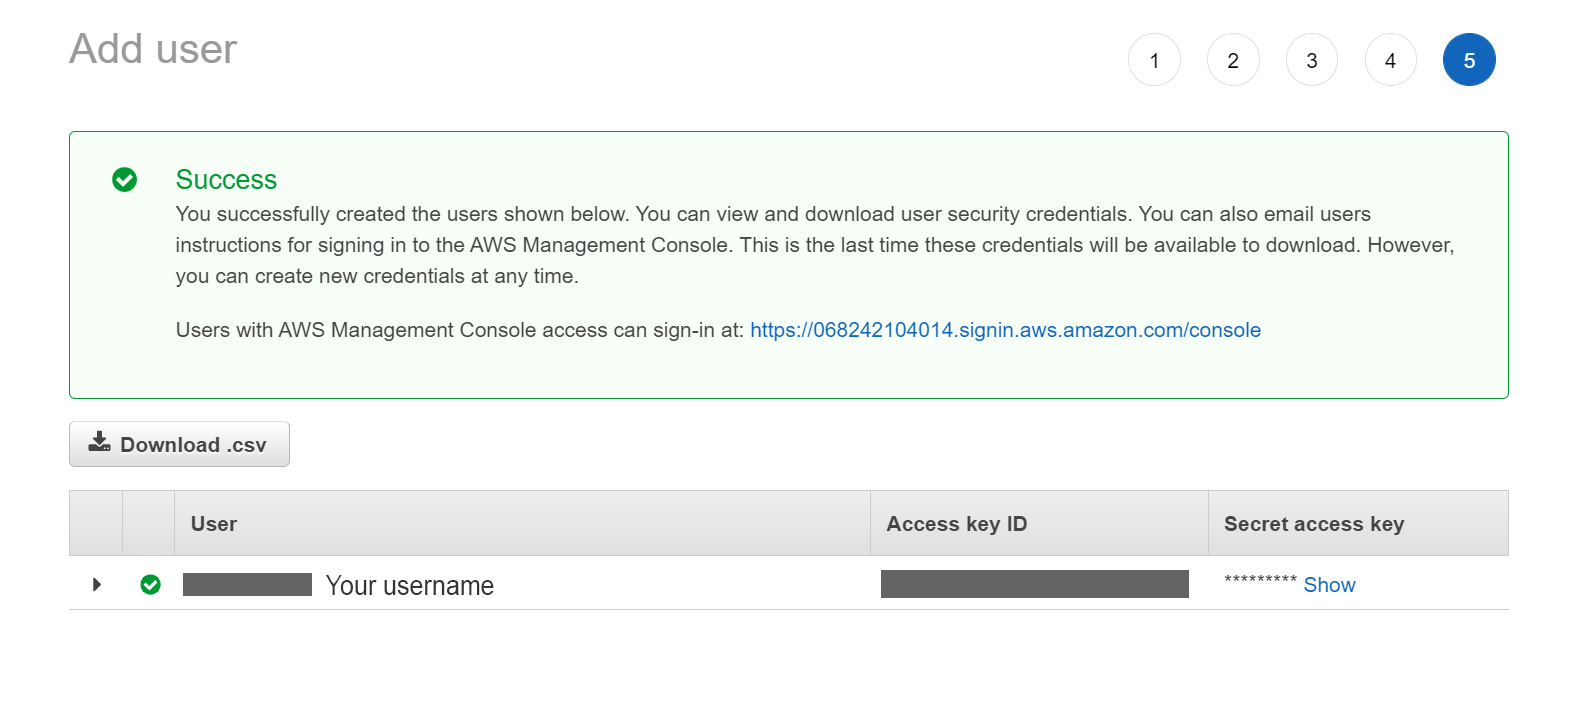
You will see the following message on the terminal. Press Enter to continue then paste the Access key ID into the prompt.
Complete the user creation using the AWS console
https://console.aws.amazon.com/iam/home?region=us-northeast-1#/users$new?step=final&accessKey&userNames=AMD&permissionType=policies&policies=arn:aws:iam::aws:policy%2FAdministratorAccess
Press Enter to continue
Next, it will ask for the Secret Access Key. Go back to the opened tab to copy and paste it into the prompt in the terminal.
Finally, they will ask for the ProfileName. You can choose whatever name you want then hit Enter to successfully set up the user.
Enter the access key of the newly created user:
? accessKeyId:  ********************
? secretAccessKey:  ****************************************
This would update/create the AWS Profile in your local machine
? Profile Name:  my-profile-name

Successfully set up the new user.
Step 3: Initialize Amplify in the React app
Run the following command and enter a name for your app when prompted.
amplify init
Then, it will ask for the authentication method. Select 'AWS Profile' and choose the user you have just created.
? Initialize the project with the above configuration? Yes
Using default provider  awscloudformation
? Select the authentication method you want to use: (Use arrow keys)
> AWS profile
  AWS access keys
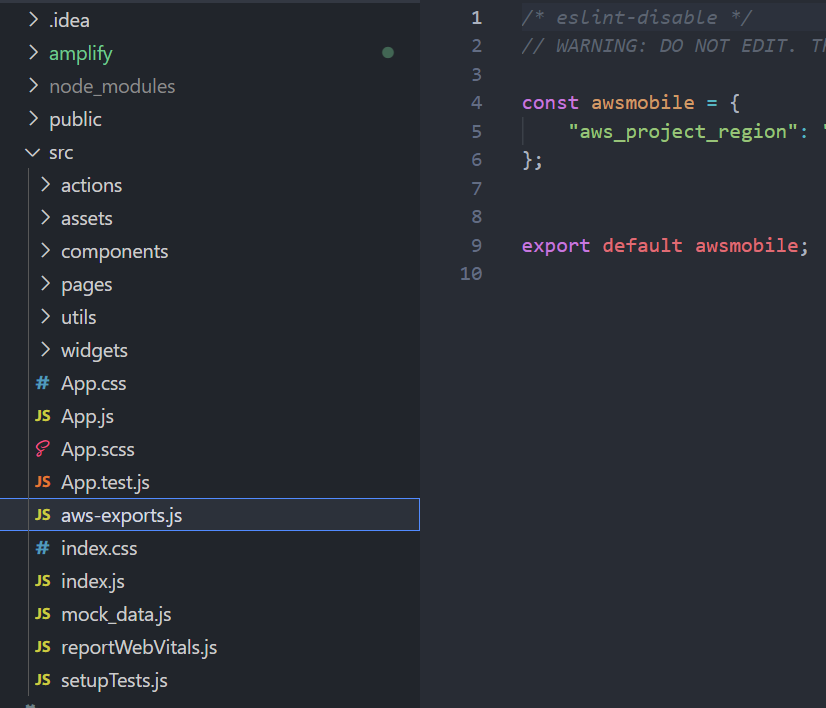
Once everything has been successfully initialized, you should see an amplify folder appear in your React app directory, and a file called aws-exports.js in your src folder.
Step 4: Add Amplify Authentication
Run the following command to start adding authentication to our React app.
amplify add auth
Once you run the command, you can see that this is automatically using the Cognito service. Select 'Default configuration' then press Enter.
Using service: Cognito, provided by: awscloudformation

 The current configured provider is Amazon Cognito.

 Do you want to use the default authentication and security configuration? (Use arrow keys)
> Default configuration
  Default configuration with Social Provider (Federation)
  Manual configuration
  I want to learn more.
Next, it will ask for the sign in method for your users. For this tutorial, select 'Email', then 'No, I am done'.
 How do you want users to be able to sign in?
  Username
> Email
  Phone Number
  Email or Phone Number
  I want to learn more.
 Do you want to configure advanced settings? (Use arrow keys)
> No, I am done.
  Yes, I want to make some additional changes.
Now we have added this auth resource locally. Run the command below to push this resource to the cloud:
amplify push
It will ask if you want to create a new resource. Type 'Y' for Yes then press Enter to continue.
? Are you sure you want to continue? Yes
- Updating resources in the cloud. This may take a few minutes...
Then, wait for a few minutes...

After all processes are completed, you should see your aws-exports.js has been updated with new configuration properties. And now, let's get to the main part of creating our authentication system for our app.
Step 5: Dashboard.js
Import the packages we need by running: npm install aws-amplify @aws-amplify/ui-react
Create a new file in your src folder called Dashboard.js. This is the component where only signed in users will see.
We will do the following:
Import the necessary packages
Import aws-exports.js
Import Amplify UI components
Call Amplify.configure(awsExports) to configure Amplify
Add AmplifySignOut component
Wrap the Dashboard component in withAuthenticator()
//1.
import React from 'react';
import { Amplify } from 'aws-amplify';
//2.
import awsExports from '../aws-exports';
//3.
import { Authenticator } from '@aws-amplify/ui-react';
import '@aws-amplify/ui-react/styles.css';

//4.
Amplify.configure(awsExports)

function Dashboard() {
 return(
    <Authenticator>
      {({ signOut, user }) => (
        <main>
          <h1>Hello {user.username}</h1>
          <button onClick={signOut}>Sign out</button>
        </main>
      )}
    </Authenticator>
 )
}

//6.
export default Dashboard
Step 6: App.js
In App.js, you can have a 'Sign In' button to redirect to the Dashboard component when the user clicks on it. For the simplicity of this tutorial, let's just directly import the Dashboard component like so:
import Dashboard from './Dashboard';
Then add the component in the return function:
return (
        <div className="App">
            <header className="App-header">
                <Dashboard/>
            </header>
        </div>
    );
And congratulations! You're all done! Now run npm start in the terminal to test.
Testing
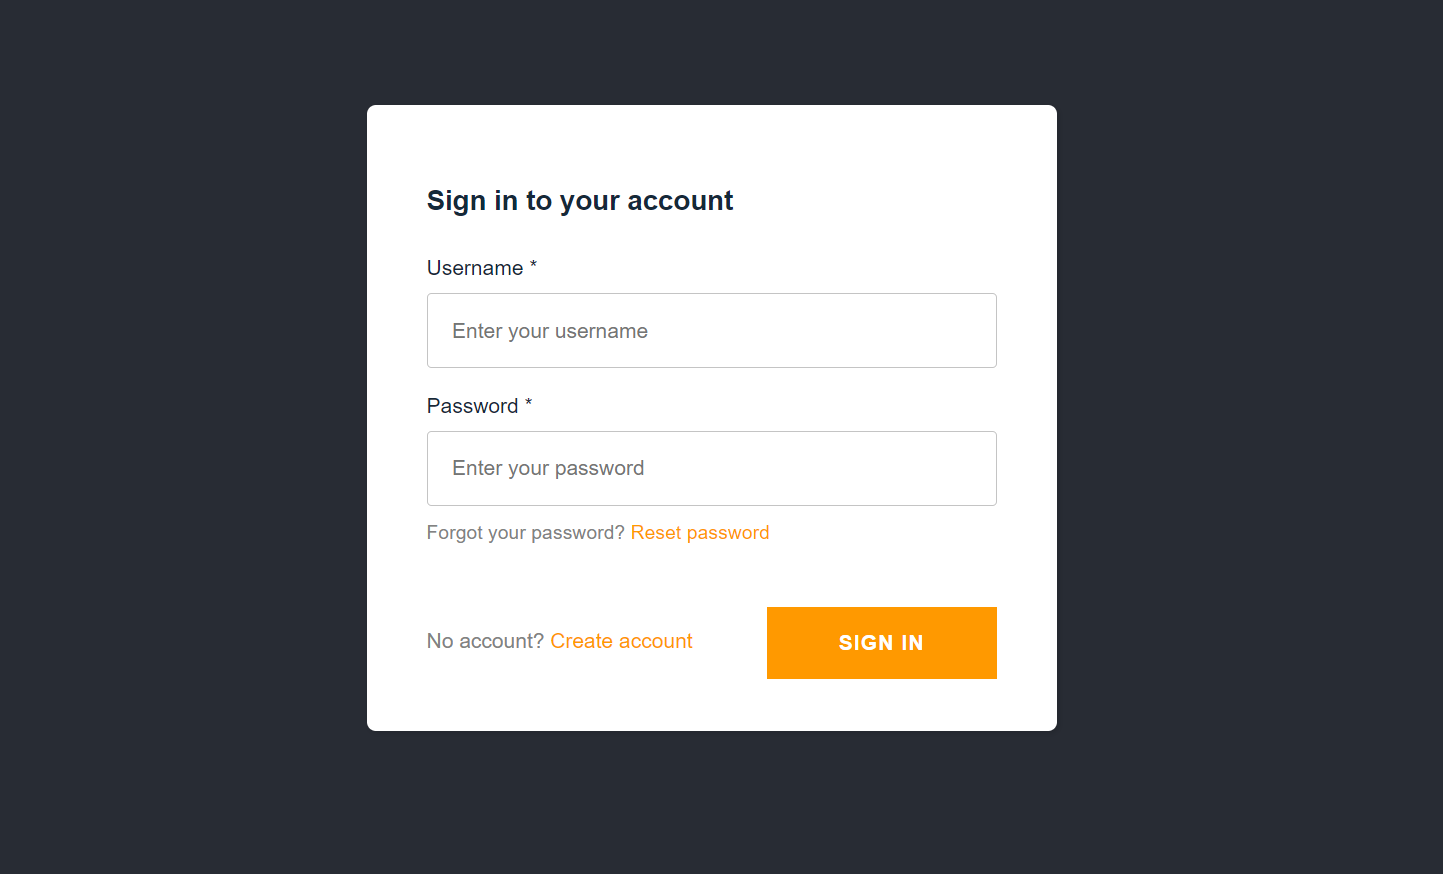
Create an Account
If there is no user signed in, a Sign In page will automatically be shown. So create an account to get started.
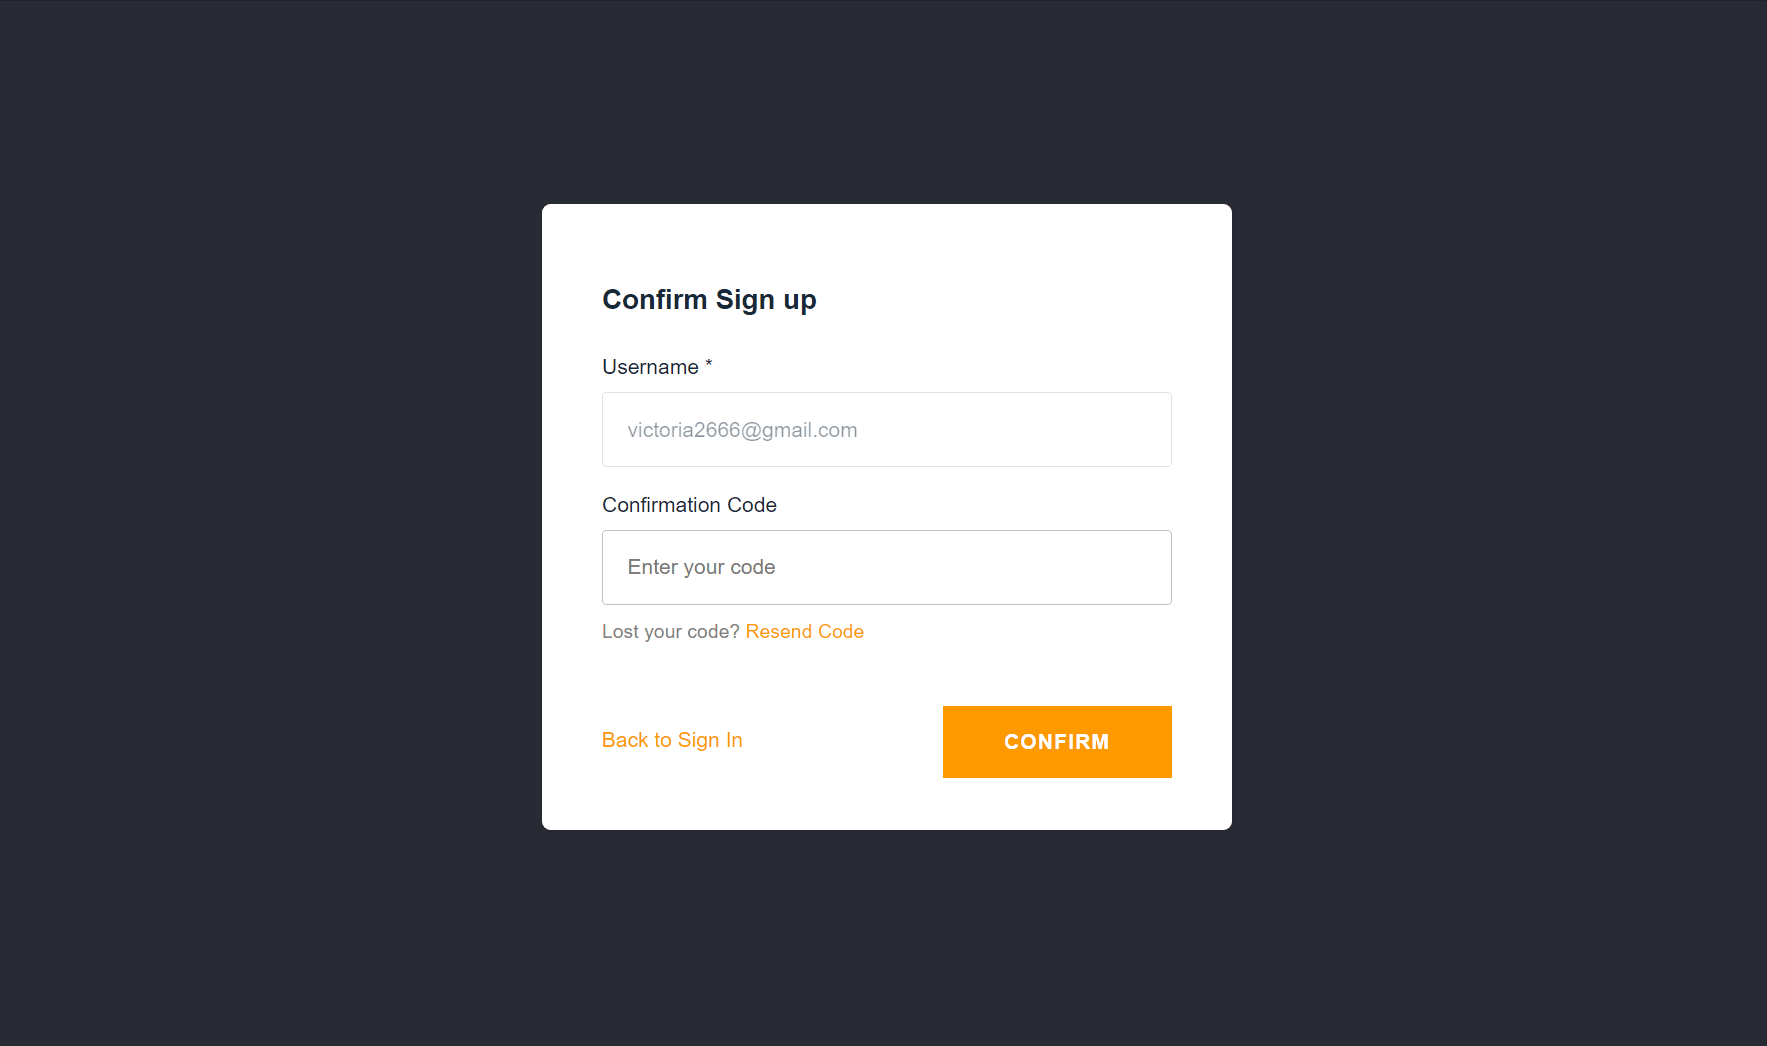
Confirm Account + Sign out/in
Once the verification code is retrieved, paste it in and the user is automatically shown the Dashboard component with the Sign Out button.
Upon clicking Sign Out, we will see the Sign In page again. If we sign in with our credentials, we should see the Dashboard page again.
And that's it!
Now you know how to set up an authentication for your React app easily using AWS Amplify. It's pretty simple, isn't it?
Of course, for more customization options to the authentication process, please check out the API Docs or read more about Amplify in the References section below.
Thanks for reading, I hope it has been helpful. If it is, do leave a like and share it around. Also, please feel free to ask questions in the comments below. Stay safe and cheers!
References
https://docs.amplify.aws/cli/start/install
https://docs.amplify.aws/start/q/integration/react